
How to Assemble Malm Bed: Step-by-Step Installation Guide
Share
🌟 Why the Malm Bed Is a Smart Choice for Modern Living
Sleek. Practical. Timeless. The IKEA Malm bed has become a go-to for urban professionals and design-conscious homeowners alike.
With its hidden storage drawers and clean silhouette, it's the perfect match for those who value aesthetics and functionality—especially in apartments where space is a luxury. However, assembling it can be a bit of a puzzle if you're not prepared.
Whether you’re doing a full hotel room set up or a tiny gaming setup in a studio, this guide will help you assemble your Malm bed step-by-step while keeping the experience elevated, elegant, and efficient.
🔧 Tools & Preparation Checklist
🛠️ Tools You’ll Need:
-
Phillips head screwdriver
-
Rubber mallet
-
Allen (hex) key – often included in IKEA packaging
-
Flat surface to lay out pieces
-
Power drill (optional but useful for speed)
-
Soft cloth to protect your floors
🧺 Pre-Assembly Tips:
-
Clear the room (especially if you're in a compact space)
-
Vacuum the area to protect the bed finish
-
Review the full IKEA instructions once through
-
Take photos of each step if you’re not confident for reassembly later
-
If overwhelmed, consider hiring a handyman assembly expert nearby
💡 Bonus: Label each piece with masking tape for quick identification. This is especially helpful in larger layouts or multi-room setups.
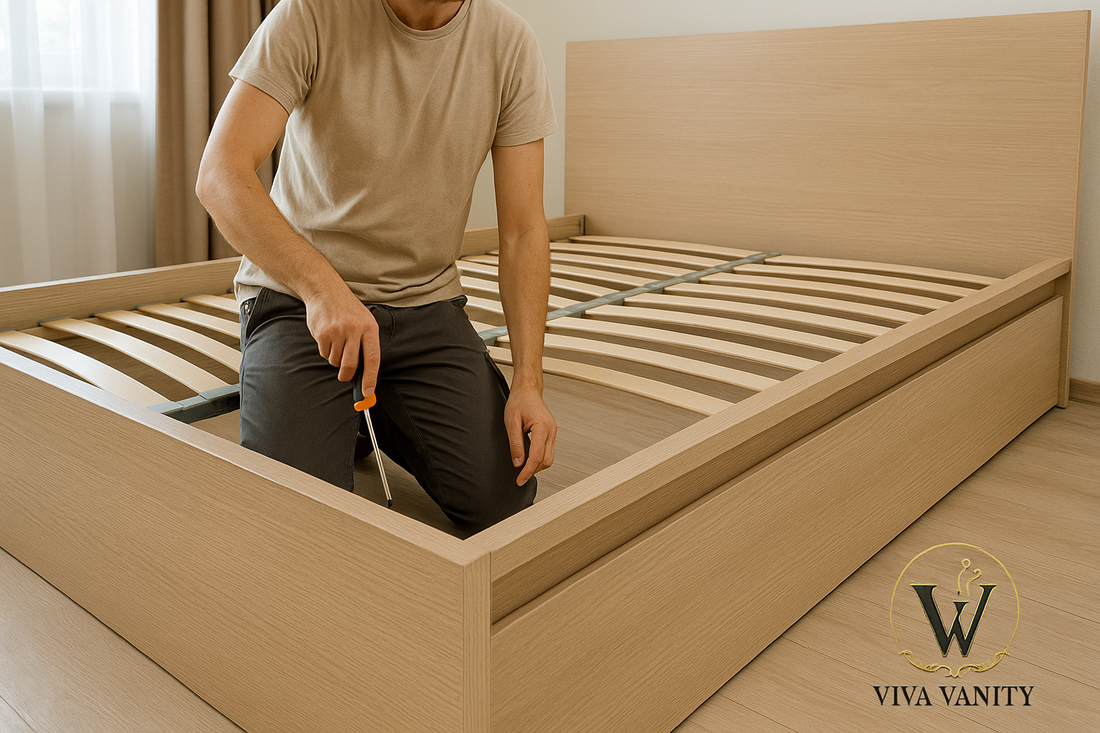
🛠️ Step-by-Step Guide to Assemble Malm Bed
Let’s dive into the process—efficient, stylish, and stress-free.
1. Organize Your Components
-
Unbox everything and group by type: side panels, slats, headboard, hardware
-
Identify drawer parts (if applicable)
Tip: Use the floor or a hotel room set up layout as a workspace—it gives you visibility and control.
2. Attach Side Rails to Headboard and Footboard
-
Insert wooden pegs into designated holes
-
Use the metal cam locks to connect the headboard and footboard
-
Ensure alignment is flush before tightening
3. Secure the Central Beam (Queen/King sizes)
-
Position the beam in the center
-
Attach it with screws provided
-
This supports the slatted base later
4. Assemble and Insert Drawers (Optional Model Only)
-
Build the drawer units separately
-
Slide them into the designated underside tracks
-
Adjust so they glide evenly
🛠️ If drawer misalignment occurs, double-check the runners or contact an installer furniture specialist from your area.
5. Lay Down the Slatted Base
-
Align the flexible slats evenly across the frame
-
Make sure end caps snap securely into the frame
-
Apply gentle pressure—no tools needed here
6. Final Tightening + Test
-
Go over every connection point and tighten all screws
-
Wiggle the frame slightly to test for movement
-
Add mattress and style with Viva Vanity linens or integrated lighting (optional)
⚙️ Troubleshooting & Common Mistakes
❌ Misaligned Drawer Tracks
Can prevent smooth sliding. Double-check bracket direction and screw depth.
❌ Over-Tightening Screws
Can crack the particleboard. Tighten until snug, not strained.
❌ Skipping Structural Support
The center beam is vital. Without it, slats can warp or break.
❌ Not Labeling Panels
In compact setups (like zoom room settings), this causes delays and mismatches.
🧠 If this feels overwhelming, try outsourcing to a furniture assembly service near me—especially for renters or busy professionals.
🪑 Viva Vanity Recommends: Complementary Pieces for the Malm Bed
Take your Malm to a new level of luxury by pairing it with furniture built for minimalist modern living.
1. GlideStow™ Smart Nightstand
-
Motion-sensor underglow
-
Wireless charging surface
-
Hidden drawer for cable storage
2. ZenHaven™ Smart Dresser
-
Finger-swipe locks for privacy
-
Mirror with ambient backlighting
-
Elegant oak, walnut, or matte black finishes
3. HarmonyWall™ Panel Headboard
-
Adds architectural drama
-
Doubles as acoustic treatment for zoom room settings
-
Easy to mount above Malm headboard for depth and elegance
📣 Final Thoughts: Elevate Everyday Assembly
You don’t need to be a professional to assemble a Malm bed with grace and style. What you need is the right mindset, tools, and vision.
Smart homes begin with smart choices—from the bed you sleep on to the people you invite in. And if you want to go further, Viva Vanity helps you turn every step of setup into an experience.
Whether you’re designing for a boutique hotel room set up, a cozy tiny gaming setup, or a tech-savvy apartment in LA, the journey starts here.