
How to Sleep Number Mattress Assembly: Step-by-Step Installation Guide
Share
🌟 Why a Proper Sleep Number Mattress Assembly Matters
Your bed is more than just a place to sleep—it’s a personal retreat, a wellness hub, and the foundation for every productive day. And when it comes to smart sleep systems like Sleep Number, proper assembly is essential—not just for performance, but for the aesthetic harmony of your space.
Whether you’re setting up a smart bedroom in a downtown Austin condo, a modern loft with a home theater setup at home, or integrating a Sleep Number system into a minimalist suite with Viva Vanity furnishings, this guide will walk you through the process from preparation to perfect positioning.
🔧 Tools & Preparation Checklist
Before you begin your sleep number mattress assembly, it’s important to have both the tools and the space ready to ensure a smooth and seamless setup.
🛠 What You’ll Need:
-
Allen wrench or hex tool (usually included)
-
Screwdriver set (Phillips and flathead)
-
Cordless drill (optional but time-saving)
-
Level + measuring tape
-
Soft cloth (to prevent scratches on frames)
-
Smart plug or outlet for integrated tech features
🧺 How to Prepare Your Room:
-
Clear a minimum of 6×7 feet for the frame and mattress
-
Remove all packaging and inventory parts
-
Lay down a rug or mat to protect your floors
-
Identify your power source for the base system
-
If pairing with home theater speaker setup, map out sound and cable zones first
💡 Hiring a professional furniture assembly service or handyman assembly can help speed things up—especially if you're assembling other elements like dressers or nightstands at the same time.
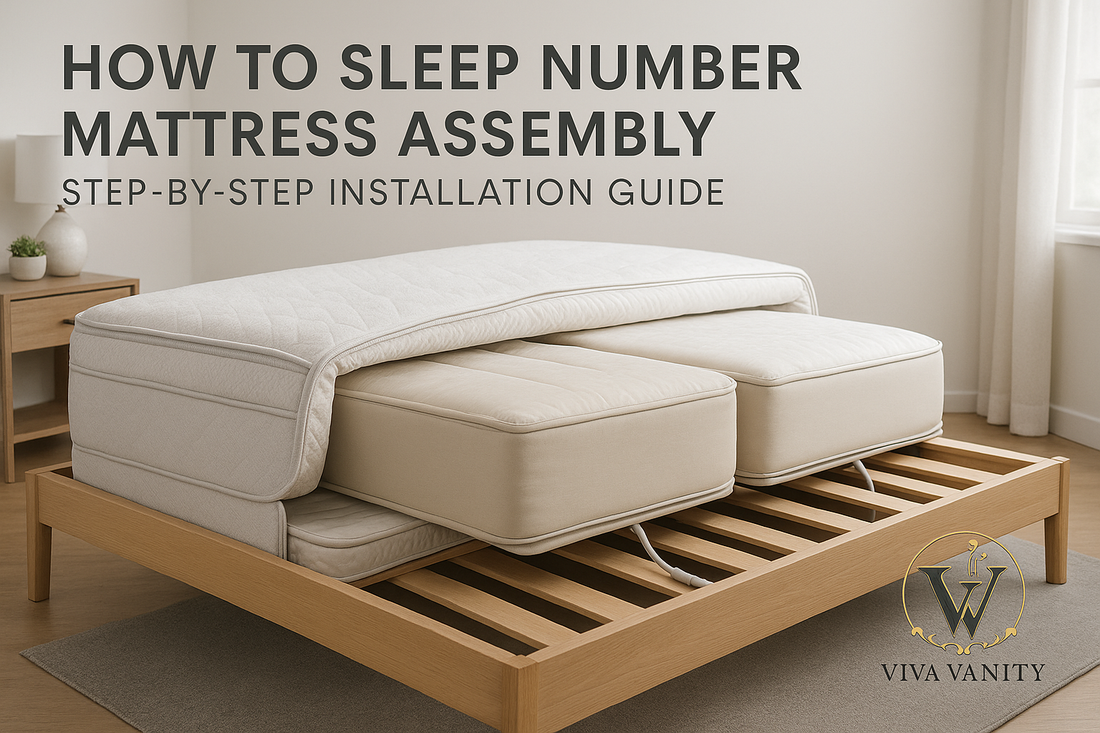
🛠️ Step-by-Step Sleep Number Mattress Assembly
Setting up your Sleep Number mattress and base can be done by a confident DIYer or with a partner. Here’s the breakdown:
1. Assemble the Frame
-
Lay out side rails and corner brackets
-
Attach using the provided bolts and Allen wrench
-
Use the level to ensure balance—this is critical for sensor alignment
2. Position the Base Platform
-
If your model includes adjustable bases, place each half (left/right) securely inside the frame
-
Connect base motors (if any) to power
-
Align all feet pads with floor markers
3. Install the Air Chambers
-
Carefully insert the air chambers into each mattress zone
-
Connect air hoses securely to each chamber
-
Run hoses neatly under the base toward the pump unit
4. Lay Down the Foam Borders & Comfort Layers
-
Position foam rails along all four edges
-
Insert center foam walls (for split models)
-
Add comfort pads and memory foam top layers evenly
5. Zip the Mattress Cover
-
Once everything is aligned and tested, zip the cover around the mattress
-
Check for wrinkles, gaps, or uneven pressure
6. Power & Calibrate the System
-
Plug in the base and mattress pump
-
Download the SleepIQ app and follow calibration steps
-
Test adjustability, responsiveness, and preferred firmness
📱 If you’re combining this with a smart bedroom layout, consider adding Alexa or Google Home integration for hands-free control.
⚙️ Troubleshooting & Common Mistakes
Even with detailed instructions, small missteps can cause long-term issues. Here’s what to avoid:
❌ Misaligned Frame Components
Can cause the mattress to shift and affect performance.
❌ Loose Hose Connections
Result in uneven inflation or loss of support zones.
❌ Uneven Base Surface
Creates pressure points, especially with adjustable models.
❌ Not Testing Comfort Levels Early
You’ll want to test and adjust before finalizing zip-up and furniture placement.
🛠️ Using ashley furniture assembly service as a benchmark, Sleep Number setups often require more attention to detail—especially if you’re combining with Viva Vanity’s smart furnishings.
🪑 Viva Vanity Furniture Pairings for a Luxurious Smart Sleep Space
Pairing your newly assembled smart mattress with thoughtful, elevated furniture pieces enhances both function and design. Here are our top recommendations:
1. NovaLift™ Smart Bed Base
-
Motorized lift with LED under-lighting
-
USB + wireless charging built-in
-
Designed for seamless integration with Sleep Number mattresses
2. LumeStand™ Smart Nightstand
-
Touch-sensitive light panel + voice control
-
Hidden cable pass-through
-
Matches Sleep Number’s minimal aesthetic
3. EchoWall™ Acoustic Panels
-
Improve sound quality for a home theater setup at home
-
Adds visual depth behind your headboard
-
Ideal for apartments or condos with shared walls
Bonus: How to Style for a Conference Style Set Up Bedroom
-
Use symmetrical bedside tables for balance
-
Add a decorative bench at the foot of the bed
-
Include a smart screen or foldable table for video calls
🛋️ All Viva Vanity pieces are compatible with smart home ecosystems and designed to elevate the feel of any space—from primary suites to modern guest bedrooms.
📣 Final Thoughts: Sleep Smarter, Live Better
The Sleep Number mattress assembly is more than just a furniture task—it’s the foundation of your daily wellness, focus, and rest.
And when paired with Viva Vanity’s smart, elegant furniture, your bedroom becomes more than a place to sleep—it becomes a statement of intentional design and elevated living.
Whether you’re redesigning a full suite, integrating tech with comfort, or replacing your old bed frame, this guide ensures that you do it with precision, clarity, and a touch of luxury.