
How to Video Conference Set Up: Step-by-Step Installation Guide
Share
🌟 Why a Smart Video Conference Set Up Is Essential in 2025
Whether you’re leading a virtual meeting from your Manhattan apartment, teaching a class from your Austin loft, or attending a remote consultation from your cute gamer room, video conferencing is no longer a nice-to-have—it’s a necessity.
But not all setups are created equal.
From bad lighting to unflattering camera angles and cluttered backgrounds, poor environments can diminish your presence, reduce your confidence, and ultimately affect how others perceive your professionalism.
The good news? You don’t need a full studio or a tech degree to build a beautiful, functional video conference set up. You just need smart planning, the right tools, and a little design help from Viva Vanity.
🔧 Tools & Preparation Checklist
Before you start rearranging your furniture, make sure you have the essentials for a seamless installation.
🛠 Equipment You’ll Need:
-
High-definition webcam or DSLR setup
-
Adjustable LED ring light or smart desk lamp
-
USB microphone or noise-canceling headset
-
Ergonomic chair
-
Neutral background or backdrop panel
-
Cable management tools
-
Smart power strip with surge protection
🧺 Room Prep Essentials:
-
Choose a quiet, well-lit area
-
Clear the background of visual distractions
-
Position your desk away from windows to avoid backlighting
-
Set up a stable, vibration-free surface for your camera
-
Hide exposed cables behind panels or smart furniture
💡 Setting up near shared spaces like your bathroom sink set up? Use acoustic panels or sliding dividers to reduce echo and visual noise.
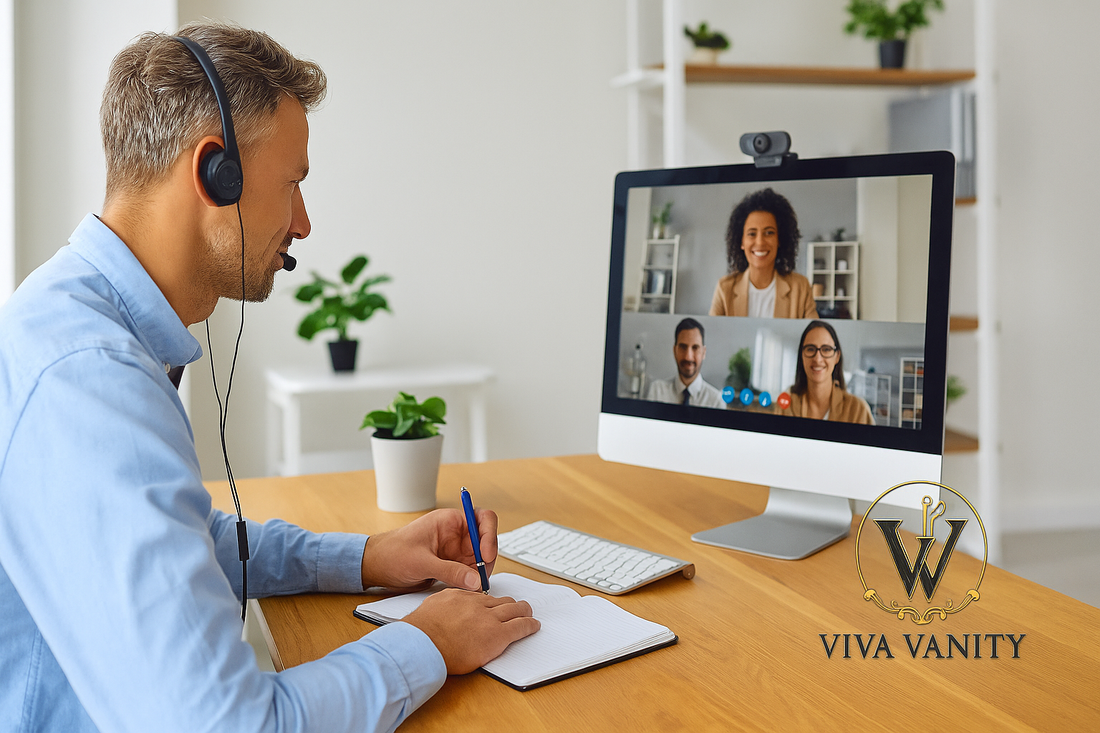
🛠️ Step-by-Step Installation Guide for a Smart Video Conference Set Up
Here’s how to transform your space into a polished, professional, and aesthetically stunning video-ready environment.
1. Select the Ideal Location
-
Aim for natural light in front of you, not behind
-
Ensure space for your desk, lighting, and camera tripod
-
Keep away from noisy or echo-prone areas
2. Choose Smart, Minimalist Furniture
-
Opt for a standing desk or Viva Vanity’s adjustable smart desks
-
Pair with a supportive chair designed for all-day posture (not your kitchen stool!)
-
Use side tables for gear organization and décor
🪑 Our AxisFrame™ desk blends perfectly into even a Floyd bed assembly studio space without overwhelming the layout.
3. Set Up Your Camera and Lighting
-
Place your camera at eye level
-
Use a small tripod or stacked books (but hide them if possible)
-
Use ring lights or smart lamps with diffusers to soften shadows
4. Connect Audio Equipment
-
Use USB or Bluetooth microphones for crystal-clear sound
-
Avoid relying solely on built-in laptop mics
-
If you wear headphones, choose sleek wireless models that complement your look
5. Style the Background Thoughtfully
-
Keep it minimal, elegant, and on-brand
-
Use books, plants, framed art, or clean shelving
-
Install a neutral curtain or backdrop if needed
📚 You can even assemble a Billy bookcase behind you for a sophisticated and symmetrical visual balance.
6. Handle Power and Connectivity
-
Use a smart power hub under your desk
-
Route cables through furniture assembly channels or attach them with adhesive clips
-
Connect via Ethernet or position your Wi-Fi router nearby for uninterrupted calls
7. Run a Full Test
-
Test lighting at different times of day
-
Check angles with video preview tools
-
Record a short test call and make adjustments
🔧 Short on time? Book a handyman to put furniture together or tech expert through TaskRabbit to streamline everything.
⚙️ Troubleshooting & Common Mistakes
Even a beautiful setup can fall flat if you make these errors:
❌ Using Harsh Overhead Lighting
This creates unflattering shadows under your eyes and nose.
❌ Placing Your Camera Too Low
Nobody looks great from a laptop keyboard angle.
❌ Visible Clutter or Distracting Backgrounds
A messy corner or open closet is an instant credibility killer.
❌ Poor Audio Quality
Bad sound is the #1 complaint in virtual meetings. Invest in your mic.
🧠 Still struggling? Use Viva Vanity’s Concierge to pair your video setup with furniture that conceals mess, improves posture, and complements your aesthetic.
💸 Estimated Cost of a Professional Video Conference Setup
| Component | Estimated Cost |
|---|---|
| Webcam or DSLR adapter | $80–$400 |
| Lighting gear | $60–$150 |
| Audio (mic or headset) | $100–$250 |
| Furniture (desk, chair, shelves) | $400–$1,500 |
| Installation or IKEA installation service cost | $100–$300 |
📦 If you’re designing your setup in tandem with a home theater speaker setup, consider bundled room design and furniture assembly services for savings.
🪑 Viva Vanity Recommendations for a Perfect On-Camera Workspace
You don’t have to choose between functional and beautiful. Our smart furniture elevates your space with design that’s as intelligent as it is elegant.
1. LumeLine™ Smart Desk
-
Integrated lighting + USB ports
-
Height-adjustable for seated or standing calls
-
Natural wood tones and matte finish—zero glare
2. NovaShell™ Storage Console
-
Hidden drawers for cables, tech, and gear
-
Sleek enough for cute gamer room aesthetics
-
Doubles as a backdrop or side table for ambiance
3. EchoPanel™ Acoustic Art
-
Absorbs sound while looking like wall décor
-
Customizable colors and patterns
-
Ideal for echo-heavy spaces like lofts or open-concept condos
📣 Final Thoughts: Let Your Setup Speak Before You Do
Your video conference space sets the tone before you say a word.
With a polished video conference set up, you create an environment that reflects clarity, professionalism, and intention. Combined with the premium craftsmanship and tech-integrated elegance of Viva Vanity, your space becomes a statement—about who you are and how you work.
Whether you’re taking investor calls, leading a virtual team, or teaching a global class from your apartment—let your background, lighting, and smart furniture speak volumes.